Installation & help
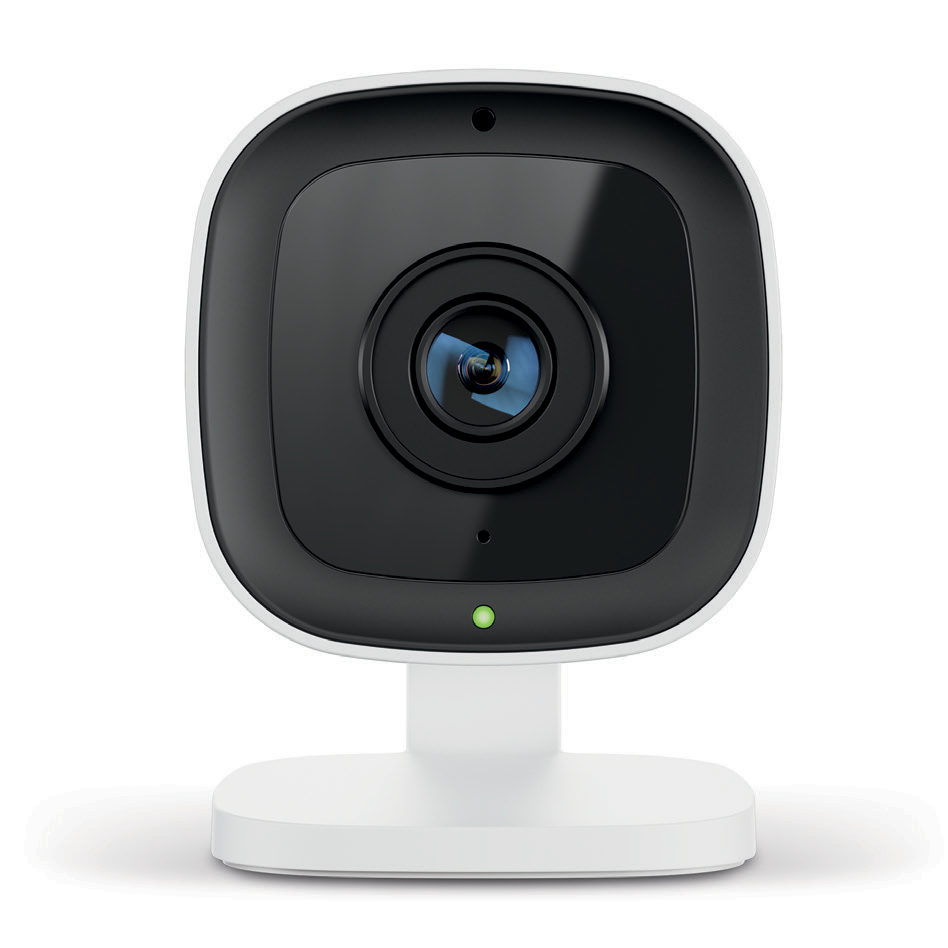
ADC-V516 Indoor Camera Setup
Prepare power and Wi-Fi, connect your camera to the right account, and confirm the view, recording and privacy settings.
Have these ready
- The ADC-V516 and its supplied power adapter.
- Your home Wi-Fi name and password, kept private.
- A phone or tablet for setup and your Alarm.com account access once created.
- A suitable indoor position near a power outlet.
- The manufacturer’s bracket and mounting instructions.
The camera supports 2.4 GHz and 5 GHz Wi-Fi and uses plug-in power. It has no Ethernet connection. The manufacturer’s supplied package includes the camera, power adapter with a 10-foot cable, bracket, screws/anchors and a link to the installation guide. A microSD card is not included.
Camera video uses home broadband internet, not the alarm panel’s cellular connection. Test Wi-Fi and the picture at the intended location before final mounting. Other internet activity and the home’s upload capacity can affect video performance.
Choose a view that fits your household
Decide what you actually want to see, such as an entrance or a pet area. Discuss the view and audio choices with the people using the space. Keep the cable clear of pinch points and walkways, and leave access to the outlet.
Check the live image once the account is ready. Look at the important area in daylight and after dark before deciding the final angle. A successful connection next to the router is not a signal test for a different room.
Connect using Access Point setup
Use this path with Major during setup, following the current manufacturer guide. It does not depend on the Bluetooth enrollment feature available only on some hardware/software revisions.
-
Power the camera
Connect the supplied adapter and wait for the flashing white setup light. If it does not appear after two minutes, the manufacturer’s Access Point procedure uses the rear Reset/WPS button: hold only until white flashes, then release, approximately six seconds. Do not continue holding it as a reset attempt.
-
Join the camera’s setup network
In your phone or tablet’s Wi-Fi settings, select the network named ADC-V516 followed by the last six MAC-address characters matching your camera or its box.
-
Connect it to home Wi-Fi
In that device’s browser address bar, type http://v516install. Follow the local setup prompts to choose your home Wi-Fi and enter its password. Enter the password in the setup interface, not an email.
-
Add the camera to the ready account
Once the Alarm.com account is available, use the app’s More → Add Device → Video Camera → ADC-V516 flow and follow its prompts. If that option is missing, ask Major to check the account. Finish mounting using the manufacturer’s illustrations once the view and connection are confirmed.
What the status light tells you
| Light | Meaning |
|---|---|
| Off | No power. |
| Flashing red | Camera starting up. |
| Flashing white | Access Point setup mode. |
| Flashing blue | WPS setup mode. |
| Flashing green | Connected to the local network. |
| Steady green | Connected to Alarm.com. |
| Steady red | Local network or internet connection problem. |
| Alternating red/green | Factory reset in progress. |
A steady green light does not confirm that recording rules, notifications or alarm monitoring are active.
Check live view, recordings and notifications separately
-
Open live view
Confirm the correct room, useful framing and the camera name.
-
Review the enabled recording rule
With Major, confirm the intended detection area, schedule and account features. Create an ordinary test event in that area and check for a new clip under Video → Saved.
-
Check the intended phone
Confirm any selected notification reaches the correct device. Live viewing by itself is not proof that clips or notifications are configured.
Standard Major monitoring is $35/month or $360 prepaid annually and includes Pro Video for up to four compatible cameras with motion/event clips after activation. Each additional compatible camera is $2/month with either payment option. Continuous 24/7 recording and someone continuously watching the cameras are not included. Ask about higher plans and supported storage before buying extra recording hardware.
Set privacy and access deliberately
Where enabled, Privacy Zones cover selected parts of future live and recorded video. Configure them in the camera’s video settings, save and verify the actual image. They do not alter old clips or switch off the microphone.
Review the camera’s Audio settings separately. The microphone/speaker setting is different from muting sound while watching a clip. Ask Major if the relevant controls are not visible; available features depend on the equipment, software and account. Discuss appropriate audio use with household members.
Use a unique account password, enable available two-factor authentication and review household camera permissions. Give people appropriate individual access rather than sharing the primary login.
If setup gets stuck
- No light: check the outlet and supplied adapter connections.
- Connection trouble: confirm the home internet is working and compare performance nearer the router. Recheck the final position before mounting.
- Live view but no clip: review the enabled rule, schedule and detection settings with Major.
- Missing app controls: ask Major to check account readiness and enabled features.
- Considering a reset: call Major first. A factory reset removes programming and is different from entering Access Point setup.
Have the model, light color/pattern and setup step ready when you call (800) 564-8273. Keep account and Wi-Fi passwords out of ordinary email or screenshots.
Manufacturer instructions and help
Your next step
Written guides are available to everyone. Preprogramming, setup assistance and ongoing technical support are included with Major Home Security monitoring. Equipment-only purchases include free written guides, without personalized programming or technical support.